
I saw a post from a local magazine looking for people to talk about their home renovation stories. I submitted a few ideas, one being the hidden door project, and the other being the new mudroom/bathroom currently in progress. I may not have thought this all the way through, because when she suggested a quick photo shoot and interview at the house in a few weeks, I knew I had lots of work to do. I was mostly concerned with getting the area around the auditorium seats finished. This included putting the trim on the window as well as the baseboard.

Claire meet Valspar, Valspar meet Claire.
I have always been a fan of California paint, and in most cases I would say that it is well worth the minimal extra cost. The bummer thing about California paint (from Massachusetts by the way), is that it’s hard to find in this area. I’m a weekend warrior and the nearest dealer is only open 7-12 on Saturday. I get my motivation at 12:01. My second choice has to be Valspar, available at Lowes. It covers really well, and it also dried quickly. We decided to go with a Woodlawn Sterling Blue for the walls, and an Ultra White for the trim. After getting the seats removed from the wall, it was time to get painting.


The color turned out great and didn’t take too long to get done, even with the ceiling. It was time to move on to the trim.
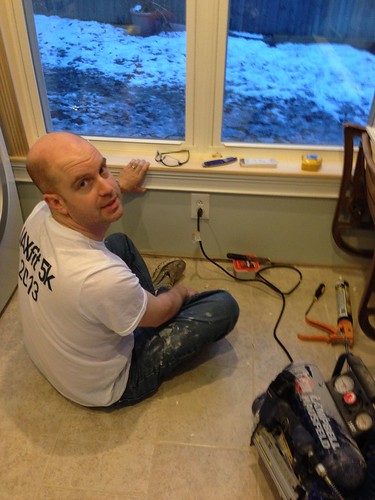
I had an idea this time around to dress up the window casing a bit more than I had in other parts of the house. It is clearly visible from the dining and living room, and almost becomes a focal point. Some research online led me to a few design ideas that I could easily replicate from some kiln dried stock and precast foam molding. My first step was the put the seats back in so I could notch the stool of the window trim.

Luckily this gets hidden behind the seat .
The top detail was just created by using a few different types of wood. The crown molding is the hard foam material (super cheap and easy to work with if you have a sharp miter saw blade). The head casing and half round are both pine. I saved myself a bit of money by just routing the half round instead of buying it. Why not, right?

The last step of the trim project will be to put a few coats of white paint on it, and the baseboard trim. I’ll show t you the finished reveal in the next post, with more info on that hidden treasure decoration that we have been working on.


